BEFORE:

AFTER:
First I ran a length of masking tape around the glass at the width I wanted the bangle. Then I started cutting it.
I had quite a time finding a way to cut the glass up without breaking it but after trying scissors (as suggested in Mich. L. in L.A.'s blog), an Exacto knife, and a saw, I finally thought of the thing that I found worked best for me...

...a soldering/wood burning iron!
It leaves a wider "cut",

but it worked wonders for cutting the plastic into slices without breaking it.

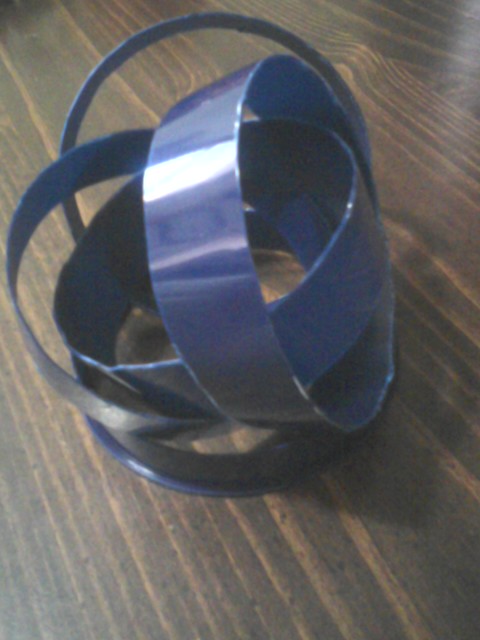
In the photo above you can see where I tried using scotch tape when I was using the saw and Exacto knife. I don't recommend it if you are using the iron. It melts too! If you are using scissors to cut your glass, it will work just fine to define the "cut line", but NOT if you melting it like I did.
I kept a rag handy to wipe the hot tip on when it got goopy with melted plastic.

Okay, now comes the time consuming part. The iron melts the plastic, which leaves a ridge of melted plastic on the edges of the bangles. I used an Exacto knife to CAREFULLY cut away that melted ridge. I couldn't get photos because I had to use both hands to handle the bangle, but if you hold it at the right angle and kinda "pop" the plastic off, it works rather well. Just be VERY CAREFUL to not cut yourself. There is no fun in creating pretty things when you end up minus a thumb!!! I held the blade flat against the bangle and slid it along under the melted ridge and kinda lifted once in awhile to pop the ridge away from the bangle.
Then I took the scissors and trimmed up the edges and made them a bit more uniform in width. (I wasn't very careful and got mine really uneven when I melted them.) If needed you can use an emery board or file to smooth out any rough spots. I didn't worry too much about getting mine perfect as they will be covered soon anyway.
Once the glass is cut up into bangles and smoothed out (if desired), they are ready to be covered with your choice of "pretty".
I found instructions on Red Heart yarns website for crocheted and knitted bangles and am going to try that on these bangles. Maybe try some ribbon wrapped around them or even glue a bit of batting on them and then wrap them with fabric to make a pretty, "puffy" bangle.
I will be making another post once I have a few made, with pictures to show you all what they end up looking like. (Wish me luck!!!) :-)
*I will be getting a better camera soon, so hopefully after I learn to use it, the photos in my posts will be better. Right now I'm using the camera on my phone! :-/
Thank you for once again joining me, and I hope you have fun coming up with all sorts of ways to decorate your own bangles. Good day my fellow crafters....
Empty water/juice bottles may work for this also! Anything that is the right size and can be cut into strips should work.
ReplyDelete